Who else wants to know how to safely edit, restore, and backup Windows’ Registry?
What is Windows Registry?
Windows Registry is the database where Windows stores the configuration settings. These settings determine how the Windows XP appears and how it behaves. The settings for most of the installed applications are also stored in the registry as well.
Why is it important?
If the registry fails, Windows XP fails. But there is nothing to fear, if you can successfully restore the registry and you know what you are changing. Before editing any part of the registry it is advisable to do a backup of the setting that you want to change and in case of any problems later on you can easily revert back the settings.
Starting Registry Editor
You can use the Registry Editor to add or change the registry settings. You can run Registry Editor as:
- Go to Start->Run.
- Type regedit and press Enter to run the Registry Editor.
Structure of the Registry Editor
If you are familiar with Windows Explorer then understanding the structure of the Registry Editor will be a lot easier.

First there are keys. Any key can have sub keys. Think of keys like folders. Sub keys are like sub folders. Each key contains one or more values. Think of values like files. A value's name is similar to a file's name. There are three properties for the value, they are value name which appears first, then its type, then the data. In order to change any value's data simple double click it.
Adding Keys or Values
The only reason you would create keys and values is if you were instructed to do so; that is, you know adding the value will have some effect. To create a new key,
- First click the key under which you want to create a sub key.
- Click Edit from the menu.
- Select New and Key.

- Then type a name for the new key.
In order to backup any of the keys or values do this:
-
Go to the key that you want to back in the Registry editor. (To open registry editor Type "regedit" without quotes in Run and press Enter.)
Right Click on the key (folder) and choose Export from the menu.
- Specify a filename which is easy to remember the settings it saved and save the file.

In order to restore the settings:
- Simply locate the file that saved and Run (Double-Click) it.
- Make sure to choose yes.
- You are done.

Since I'm planning to write few tips and tricks by using the registry editor, so I thought an introduction would be nice.


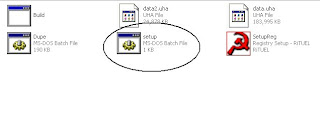
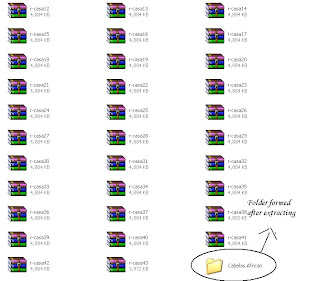 Here u can see the folder [cabelas african] formed.............
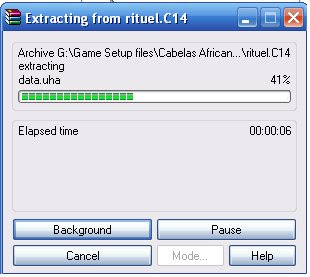
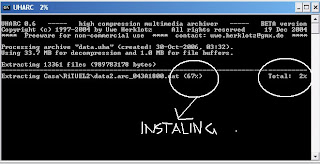 -It takes around more than 45 minutes....to de compress...........


